
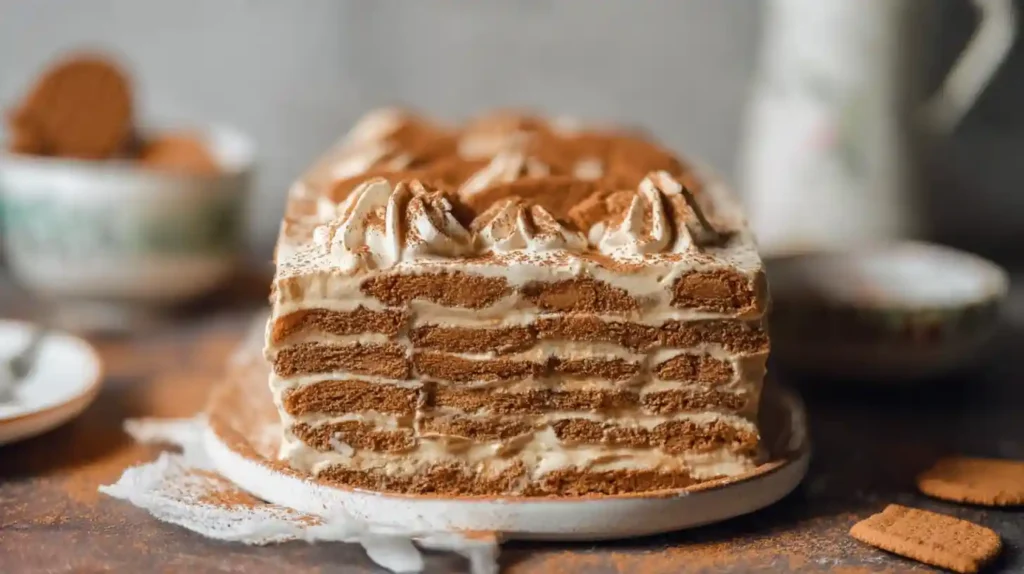
You know that moment when a dessert is so smooth, so rich, yet astonishingly easy to make, it feels like magic in the kitchen? That’s exactly what this Cookie Butter Icebox Cake delivers. Imagine sinking your fork into layers of velvety cookie butter whipped cream nestled between tender, spiced Lotus Biscoff cookies softened just right after a night in the fridge. The comforting aroma of caramelized spices and the effortless assembly make this no-bake cake the ultimate treat that feels personal and indulgent.
What Makes This Cookie Butter Icebox Cake Special?
This dessert thrives on contrasts: creamy, airy whipped cream infused with the warm, caramel notes of cookie butter paired with layers of crisp, yet softening, spiced Biscoff cookies. It’s a “make-ahead” dream come true — simply layer, chill overnight, and unveil a delicate, melt-in-your-mouth experience that’s bound to wow any crowd. I’ve brought in a touch of mascarpone for creaminess and pure vanilla to elevate every bite with the slightest hint of floral sweetness.
Key Ingredients and How to Substitute
- Heavy cream whipped till it forms cloud-like medium peaks.
- Lotus Biscoff spread — silky, spiced, and sweet, or swap with peanut butter or Nutella for a twist.
- Mascarpone cheese adds luxurious creaminess, with the option to replace with cream cheese at room temperature (add a little extra sugar to balance tang).
- Pure vanilla extract and a touch of kosher salt to balance flavors.
- Sweet confectioner’s sugar to gently sweeten.
- Lotus Biscoff cookies are the star layer, but graham crackers, chocolate wafers, or thin chocolate chip cookies can be delicious stand-ins.
How to Build Your Icebox Cake
- Whip the heavy cream until you see soft, billowy peaks forming like fluffy clouds.
- Gently fold in your cookie butter, mascarpone, vanilla, salt, and sugar until you get a smooth, dreamy cream.
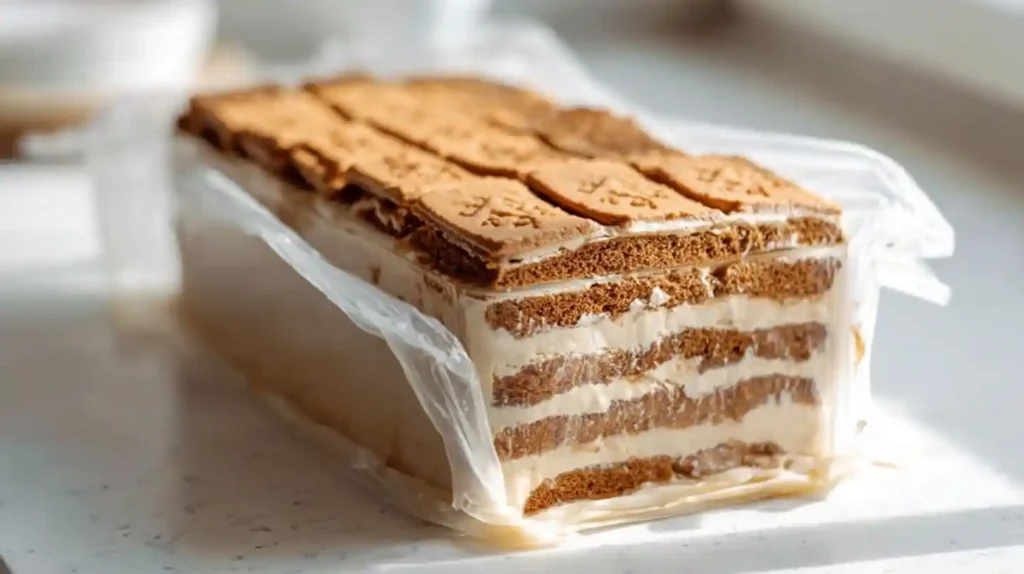
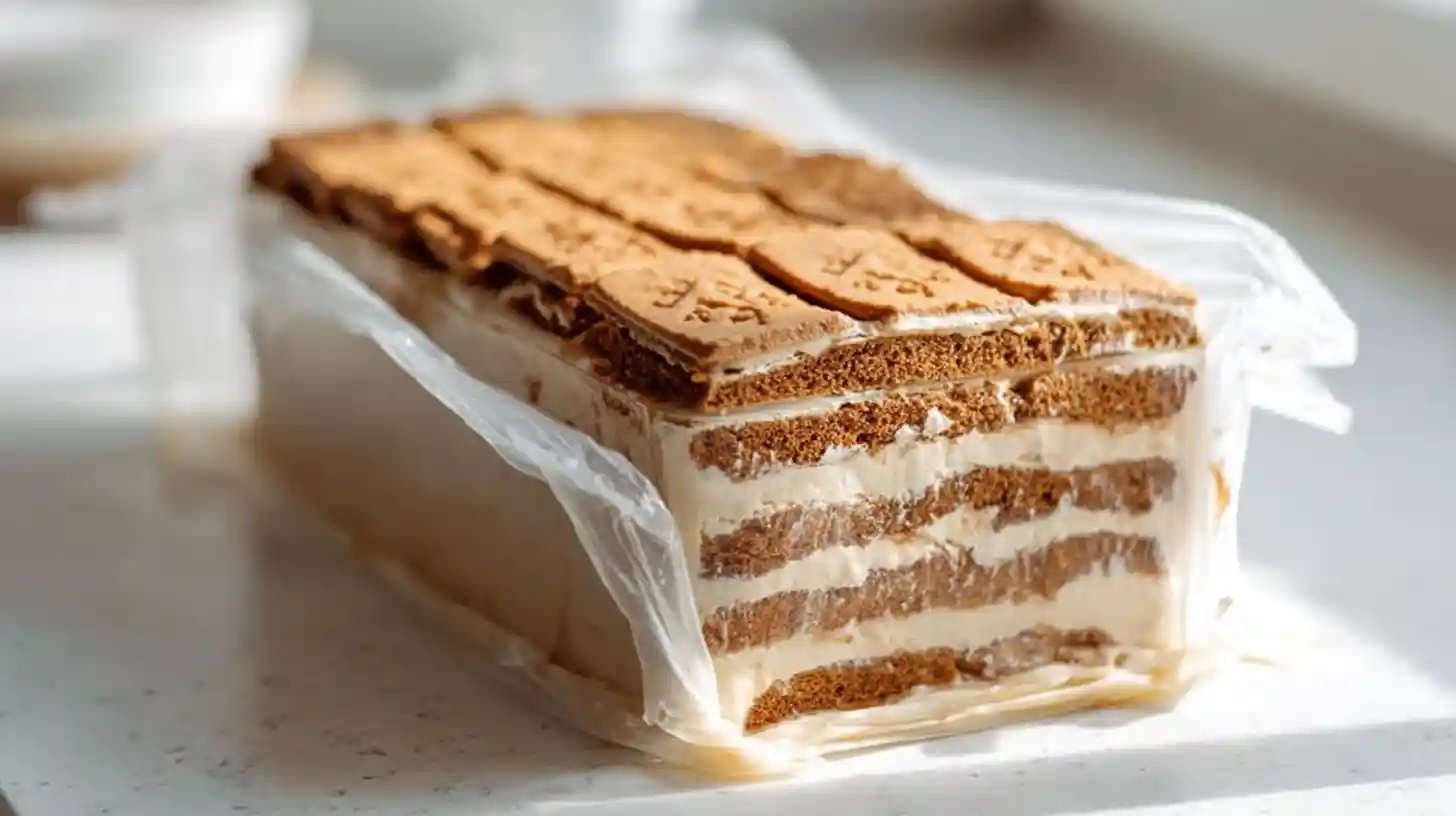
- Line a loaf pan with plastic wrap — the easiest way to lift the whole cake out later.
- Place a single, neat layer of Biscoff cookies on the bottom, then spread an even, rich layer of your whipped cookie butter cream over them.
- Repeat these layers, cookie then cream, building up heaven in your pan. Always finish with a cookie layer on top to create that perfect crust after chilling.
- Wrap it gently with plastic and let the magic happen: chill for at least 24 hours, allowing the cookies to soften and soak in all that luscious cream.
- When ready, unwrap and flip out your masterpiece. For an extra touch, drizzle with warm cookie butter and sprinkle crushed cookies over the top for that “wow” factor.
Pro Tips for Perfect Results
- Use a stand mixer with a whisk attachment for effortless, perfect whipped cream every time.
- Be gentle when folding in ingredients to keep your cream light and fluffy.
- Want thinner or thicker layers? Adjust the number of cookies per layer to suit your loaf pan size.
- Warming the cookie butter slightly before drizzling ensures it spreads silky smooth.
- For an elegant touch, add fresh raspberries or sliced strawberries on top before serving.
Variations to Explore
- Vegan Version: Swap heavy cream with vegan whipped topping and mascarpone with vegan cream cheese; omit extra sugar as Biscoff is sweet enough.
- Chocolate Lover’s: Layer with thin chocolate wafers or add a swirl of cocoa powder into the cream.
- Nutty Twist: Use peanut butter or almond butter in place of cookie butter, paired with complementary cookies.
Troubleshooting Common Issues
- If your whipped cream isn’t stiffening, chill your mixing bowl and beaters before starting.
- For too-sweet cream, reduce the confectioner’s sugar or mascarpone amount slightly.
- If cookies stay too hard, make sure to cover tightly and chill long enough (overnight or up to 3 days).
- Struggling to unmold? Run a warm knife around the edges and gently lift with the plastic wrap.
Substitutions and Storage
- Cookie substitutes: Graham crackers, chocolate wafers, or thin chocolate chip cookies.
- Mascarpone alternative: Cream cheese at room temperature (adjust sweetness).
- Storage: Store wrapped airtight in the fridge for up to 3 days to keep it fresh and creamy.
- Freezing: Wrap tightly, freeze, and thaw overnight in the fridge before serving.
FAQs About Cookie Butter Icebox Cake
- How long does it take to set? At least 24 hours in the fridge for the best texture.
- Can I make this ahead? Yes! It improves in flavor and texture after chilling for 1-3 days.
- Is it gluten-free? Biscoff cookies contain gluten; substitute gluten-free cookies if needed.
- Can I use store-bought whipped cream? Yes, but homemade whipped cream has a fresher taste and better texture.
- What if I don’t have mascarpone? Cream cheese works well, just balance the sugar to counter its tanginess.
- Can I add fruit? Fresh berries on top are a lovely addition for freshness and color.
- How do I serve it? Serve chilled, but let it sit 10 minutes at room temperature for creamier slices.
Cookie Butter Icebox Cake
Ingredients
Method
- Whip the heavy cream until medium peaks form.
- Fold in Biscoff spread, mascarpone, vanilla, salt, and sugar until creamy and smooth.
- Line a loaf pan with plastic wrap. Layer cookies and cream alternately, finishing with cookies.
- Wrap loosely and refrigerate for 24 hours. Serve with warmed cookie butter and crushed cookies.